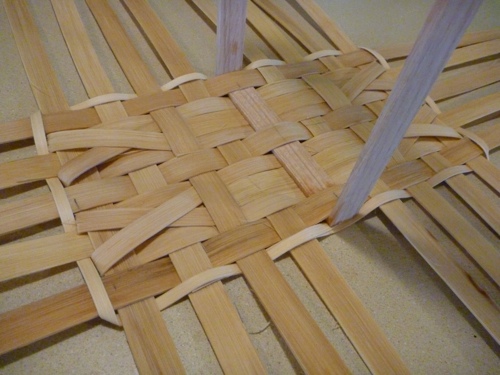
After you’ve laid out the base (filled or not), you’re ready to add the locking row. The purpose of this single 1/4” flat reed row is to hold the shape of the base to the proper measurements that you’ve worked so hard to achieve. This row does notstand up with the sides!
Step 1: Begin by finding a vertical stake in the lower left hand of the basket that 1) is over the horizontal stake at the bottom, and 2) has at least 3 stakes (including the handle if there is one - aways treat that as a stake) to the right of it. Place the end of the ¼” reed on top of that stake. It should be opposite of the horizontal stake.
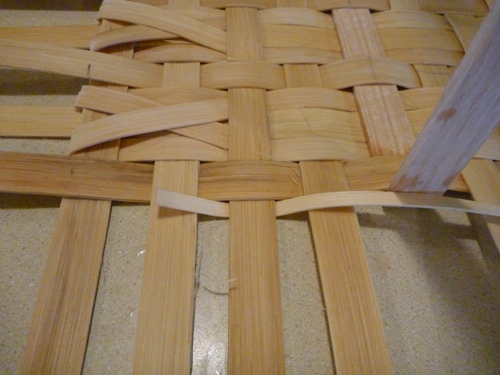
Step 2: Over and under weave from left toward the right with the ¼” flat reed until you reach the first corner. Fold a miter corner by creasing the ¼” on top in a 90 degree angle.
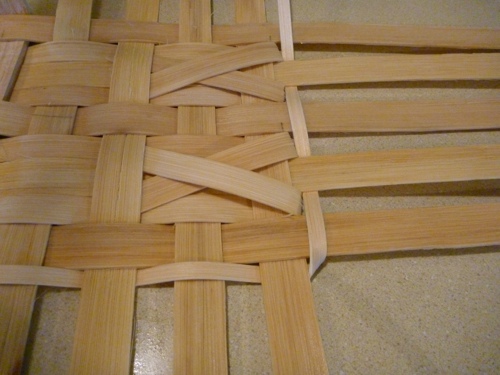
Step 3: Over and under weave all the way around the base, repeating the miter on each corner. On two of the corners, you’ll fold the miter under at a 90 degree angle instead of over.
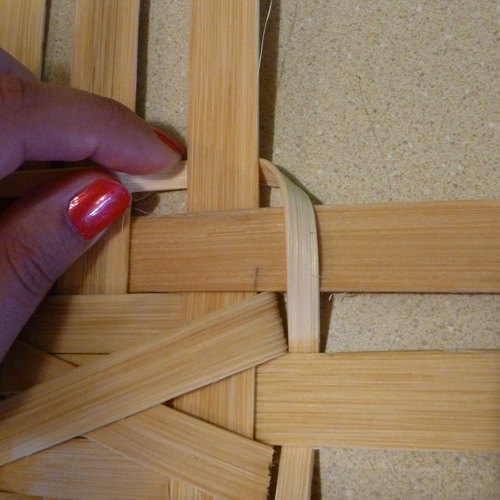
Step 4: Upon returning to the place where the locking row started, overlap the ¼” flat reed by four stakes. Cover the starter ...
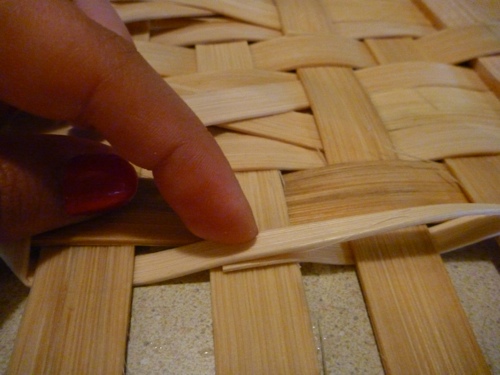
Proceed under the next vertical stake ...
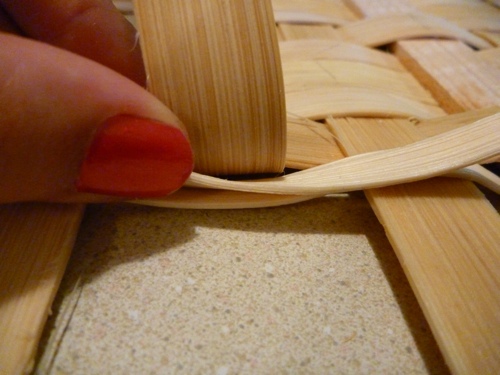
Go over the third vertical stake, clip the 1/4” flat reed and tuck the tail under the fourth vertical stake.
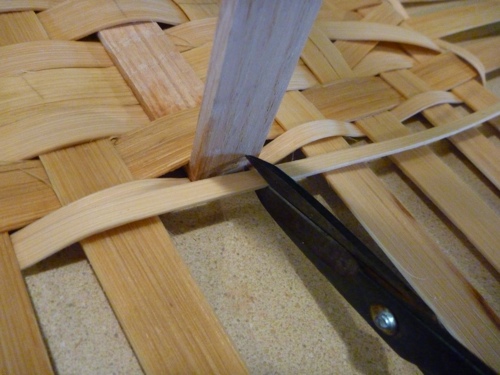
Step 5: Now you cannot see where the locking row began or where it ended. Another tip: Always start the locking row somewhere left of the center on the long side of the basket because you do not want to end the 4-stake overlap around a mitered corner.
Step 6: Move on to upsetting the stakes!