You don't need much to weave a basket. Some reed, a tub of water, and a few tools, most of which are probably in a drawer at home already. Here's what we keep at the bench, what we use each one for, and where to find the ones you don't have.
01 Flat-tip weaving tool
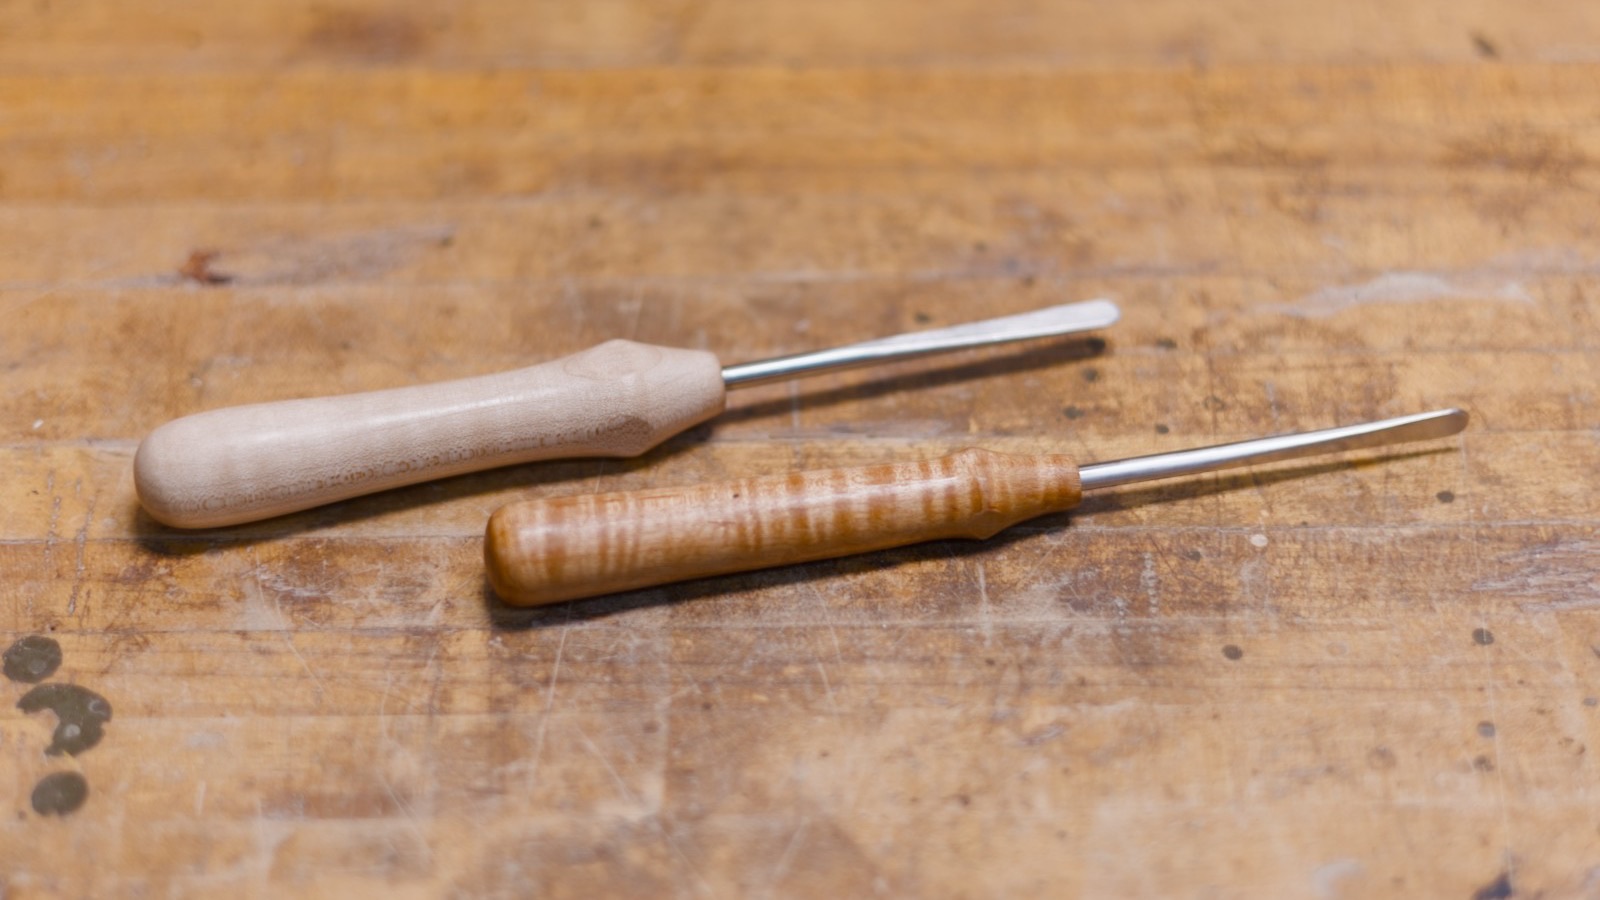
This is the one we pick up more than anything else. The flat tip opens a space between stakes so you can tuck a weaver or a folded stake behind the row below, and it packs each row down snug as you go.
It really earns its keep at the rim, lifting the last row so the lasher can slip under. Just go easy when you pull on the lasher with it, because reed will snap.
02 Snips
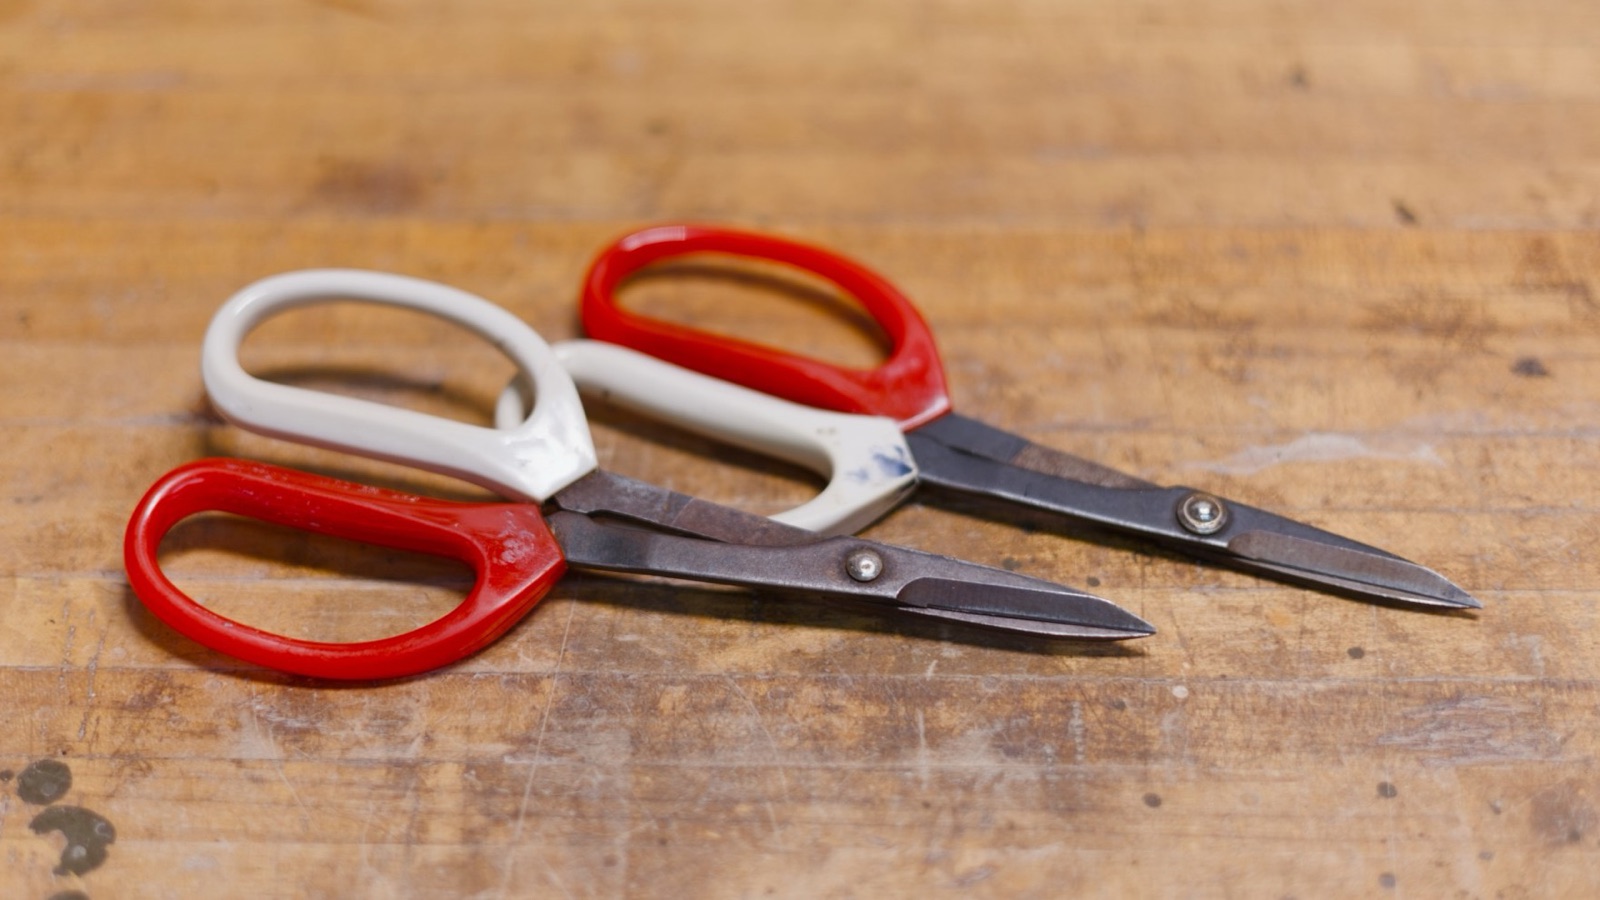
You'll use these every time you weave, for cutting reed to length and trimming stakes close to the weave. The short blades are easy to control in tight spots, and you can crimp #3 round reed with the back of them before you twine a round base.
03 Clothespins and hippo clips
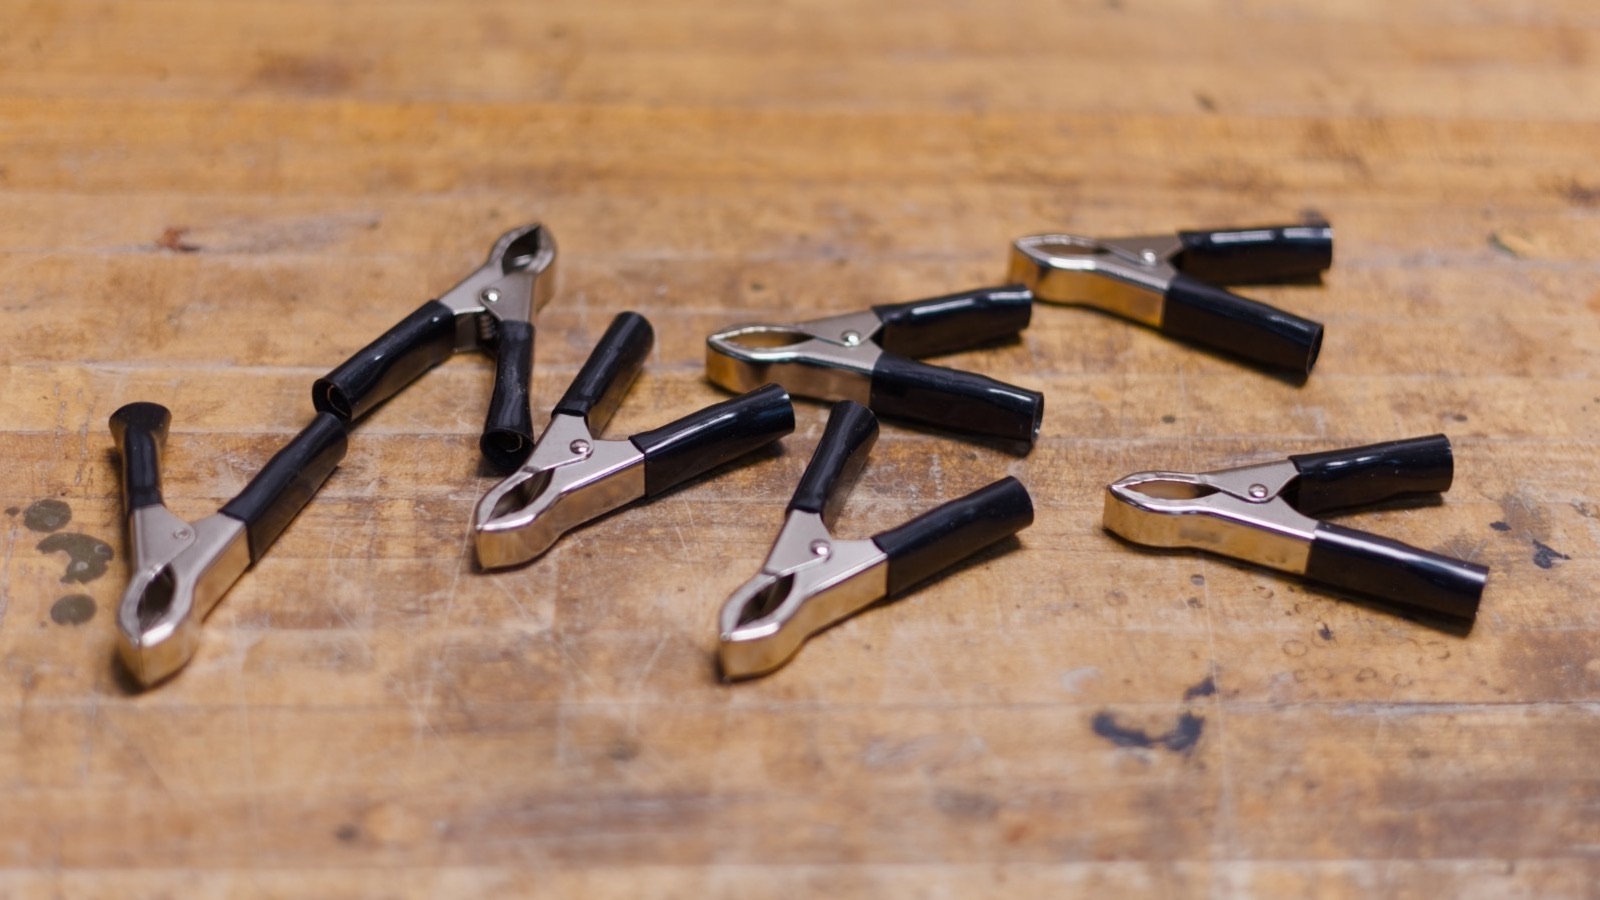
Weaving always seems to need one more hand than you've got. A clip holds a weaver at the corner while you turn it, and holds the rims to the last row while you lash your way around. Hippo clips grip hard, but strong wooden clothespins work too, and you've probably got a few on the line already.
04 A tub for soaking
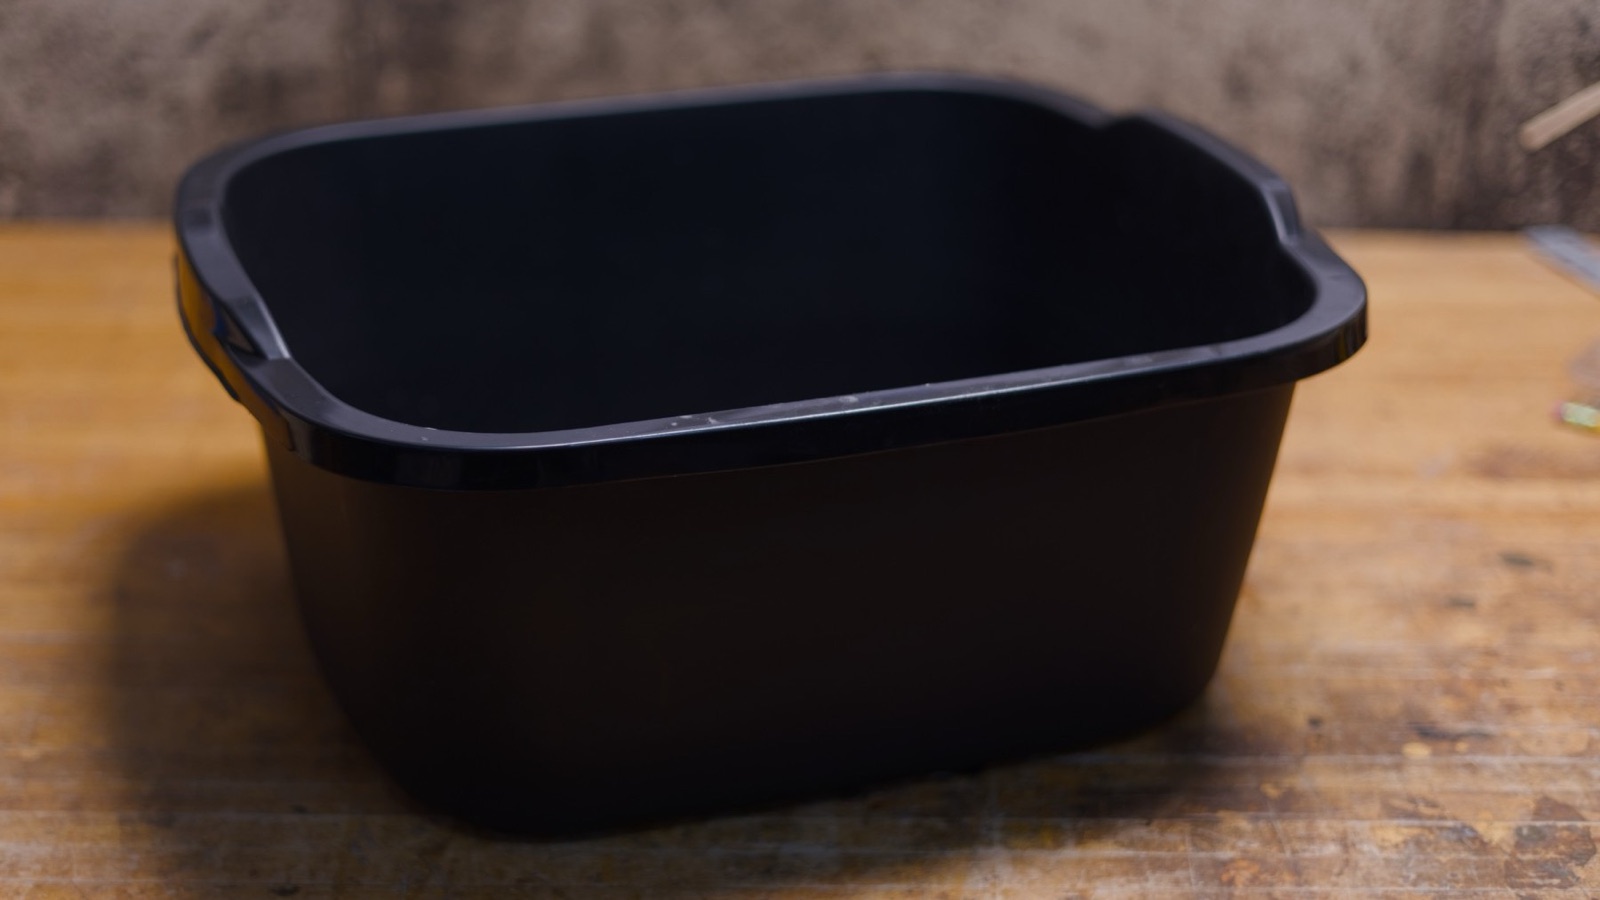
Reed only bends when it's wet, so every weaving session starts with water. Any tub will do, as long as it's deep enough to lay your flat reed down in.
05 Hand plane or utility knife
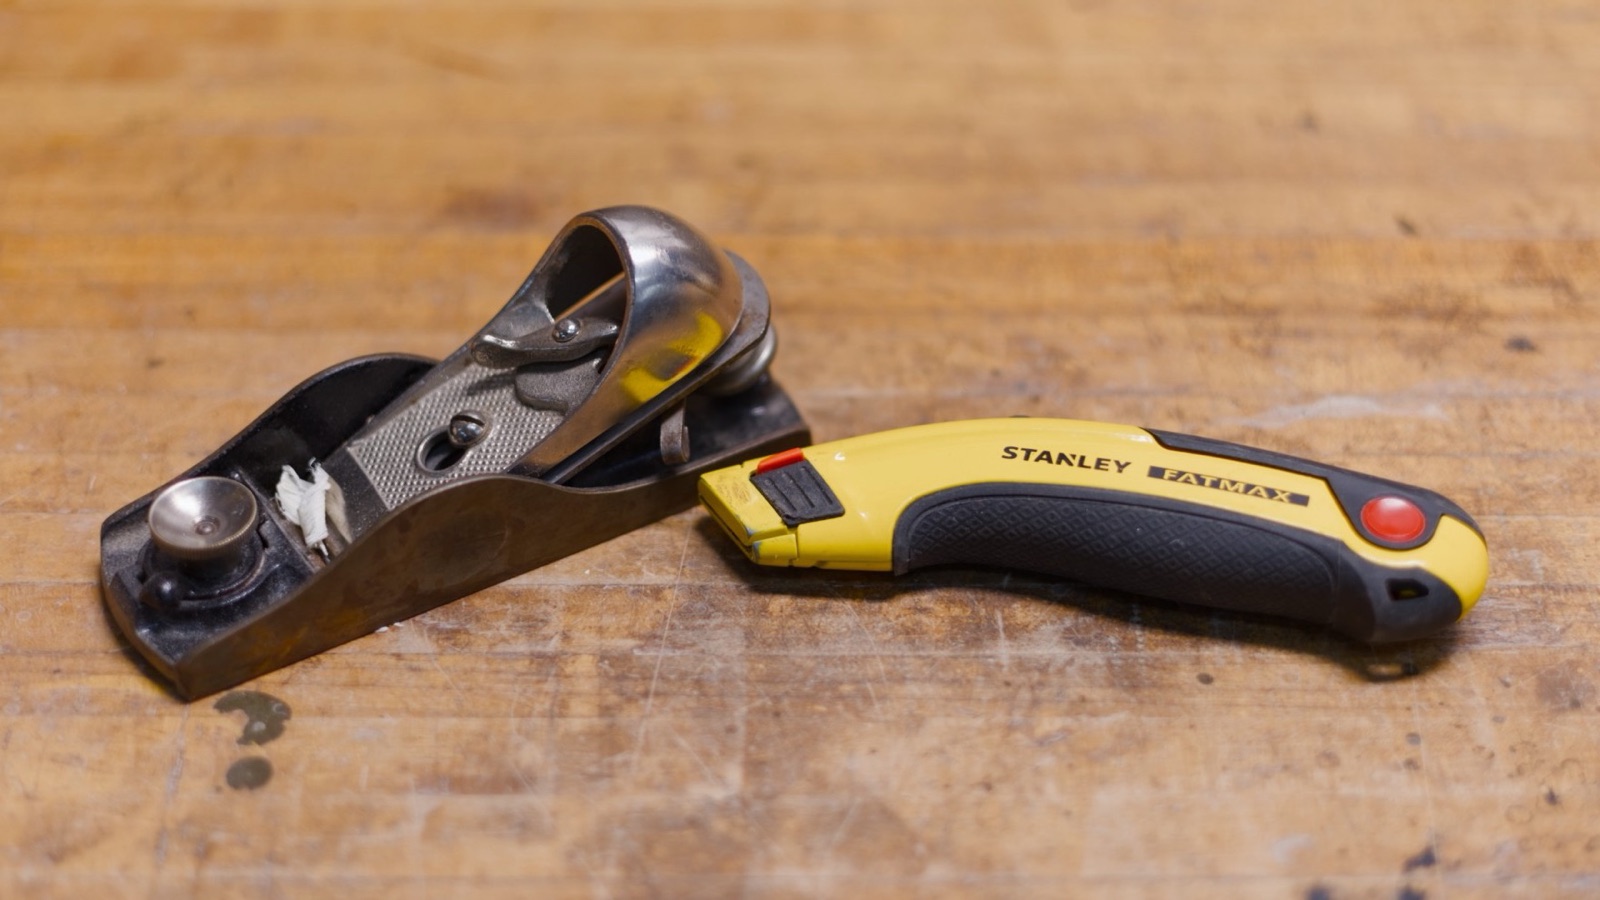
When you get to the rim, you'll taper the ends of each rim piece so they lie flat where they overlap. We use an old Stanley hand plane for this, but a Surform shaver or a sharp utility knife is easier to come by and works fine.
06 Pencil and ruler
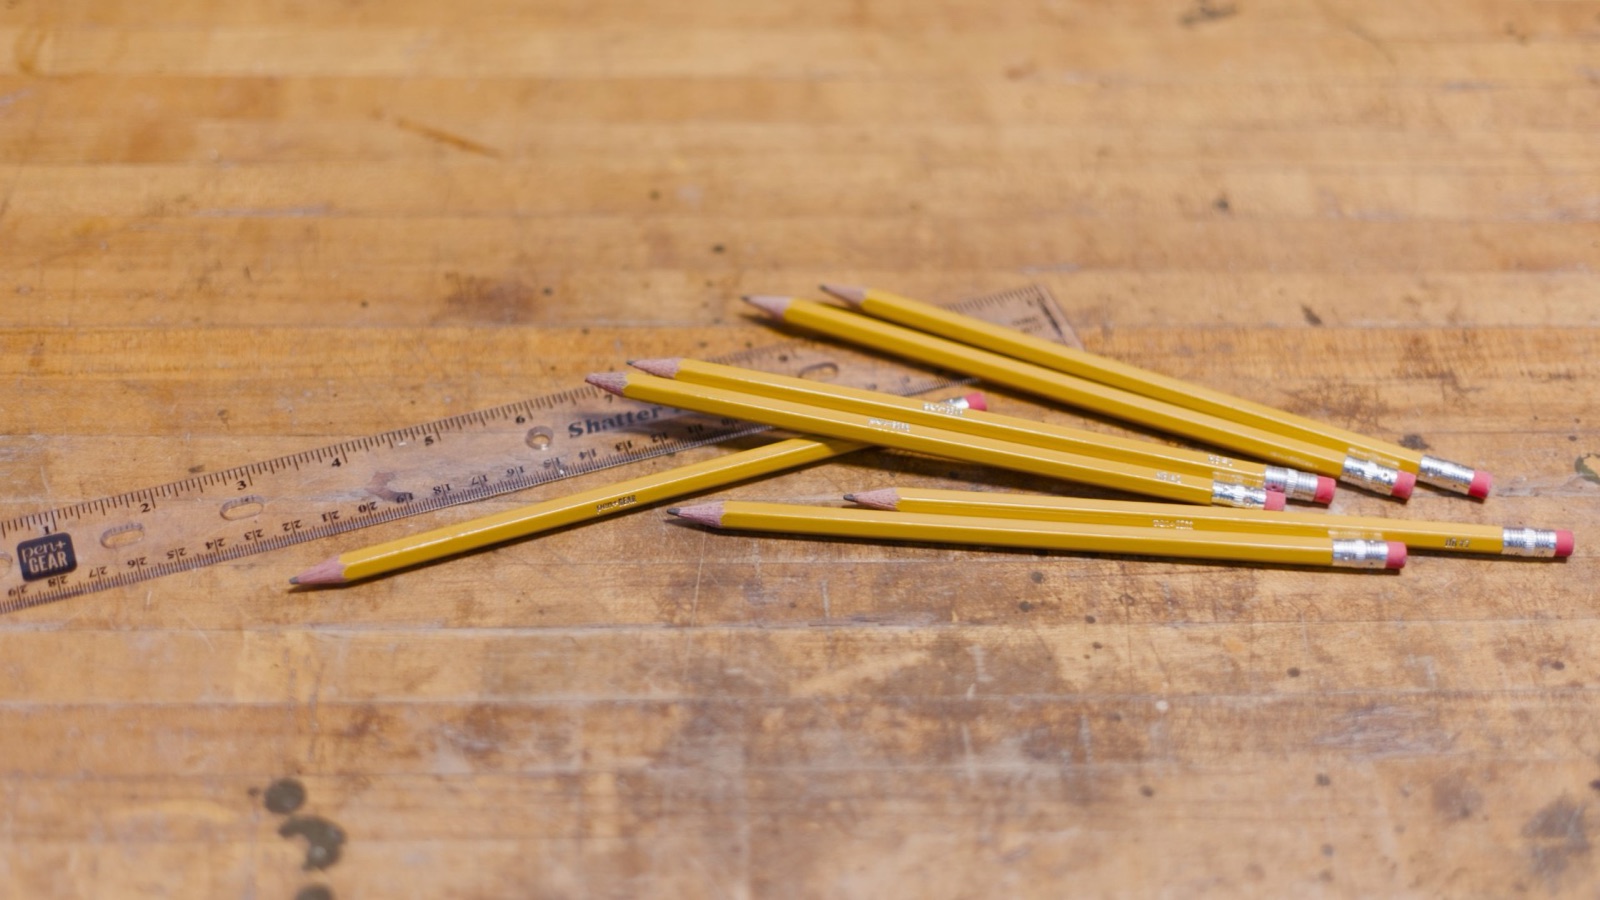
Every basket starts with a measurement. You'll mark the center of the middle stake with a pencil, then use a ruler to check the corners of the base against your pattern before you start up the sides.
07 Propane torch
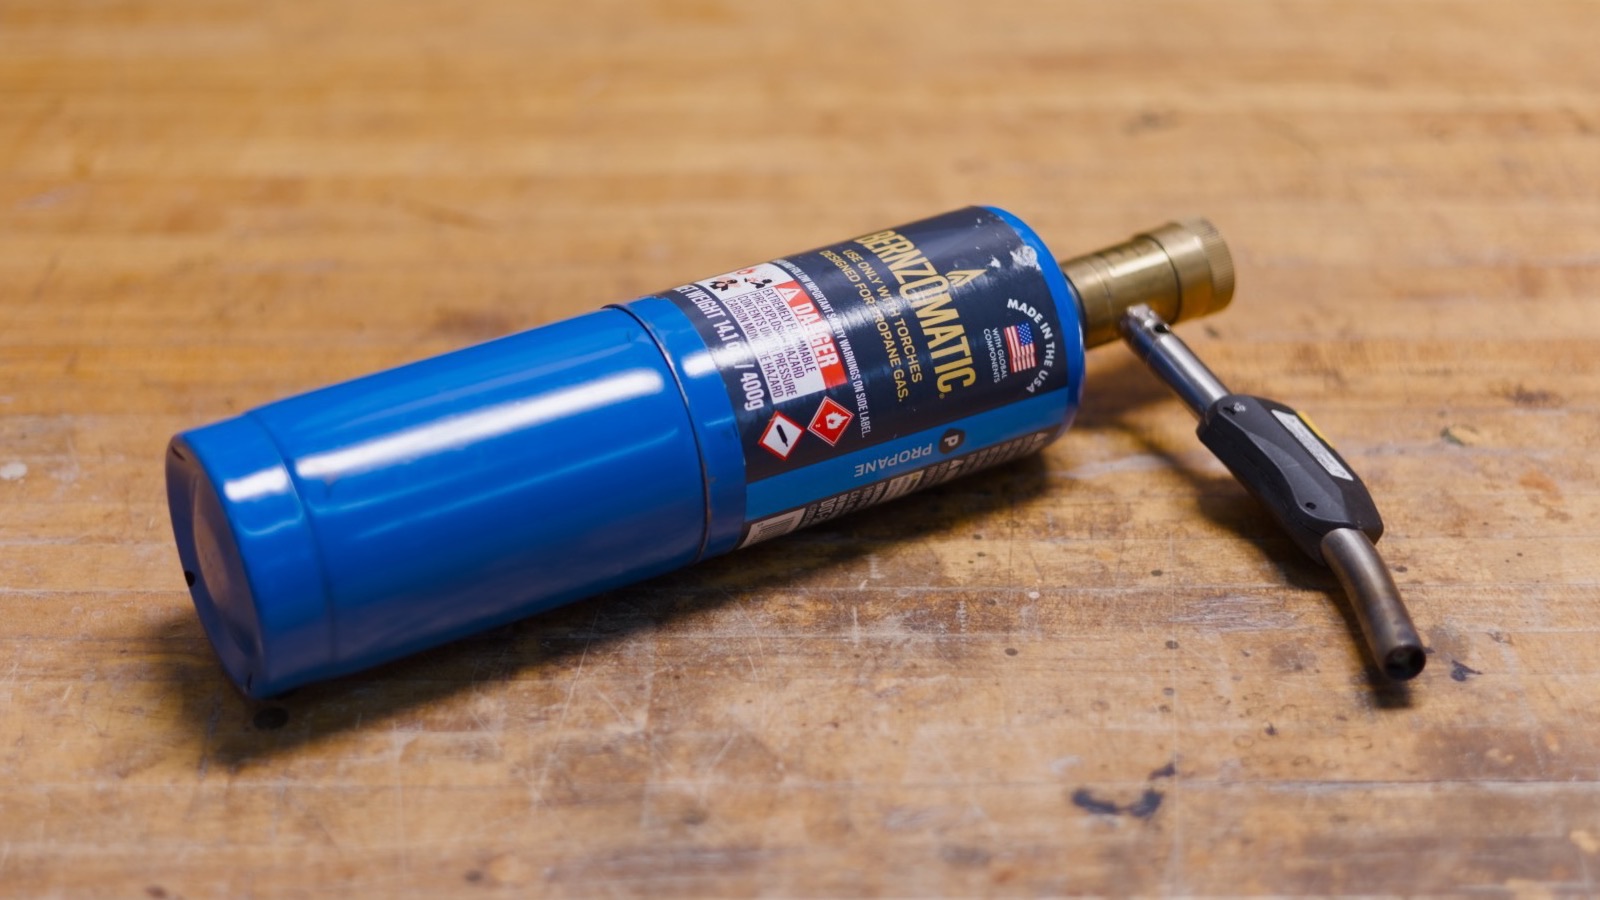
A finished basket has fine little hairs all over it from the reed. Clipping them one at a time takes forever, so we run a propane torch over the basket and singe them off. No torch? A gas stove top works too.
08 Gloves, rags and a pan for staining
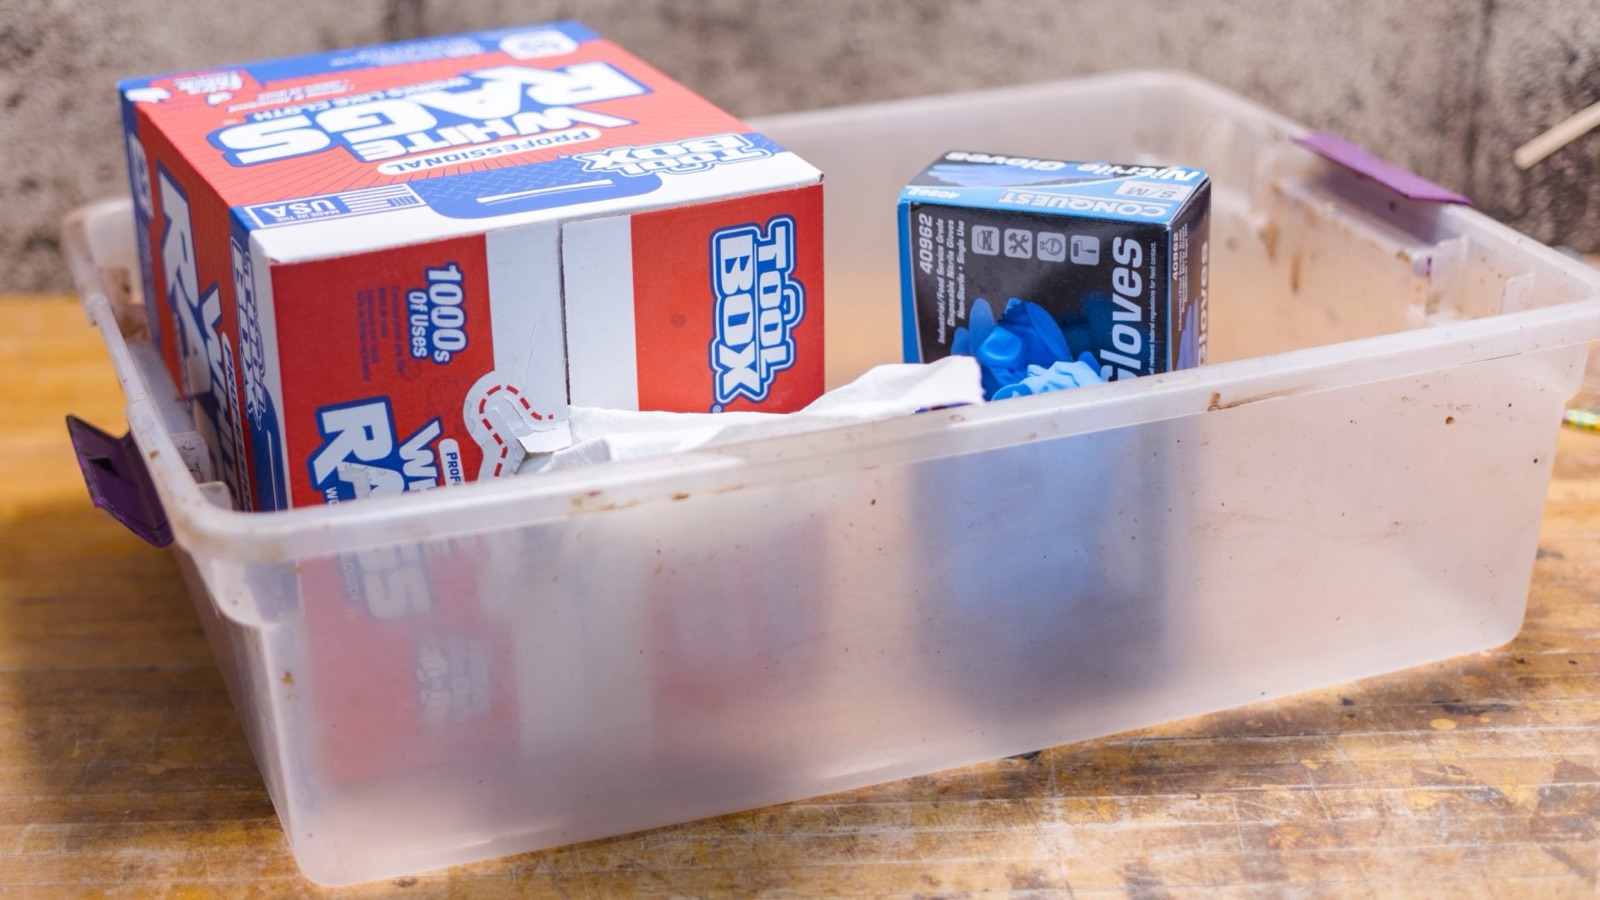
Besides the stain itself, you don't need much. We dip ours in an aluminum pan or a plastic tub that fits the basket, wear disposable gloves, and keep a few rags close by for drips and for wiping stain off the rivets. It's almost always a messy job.