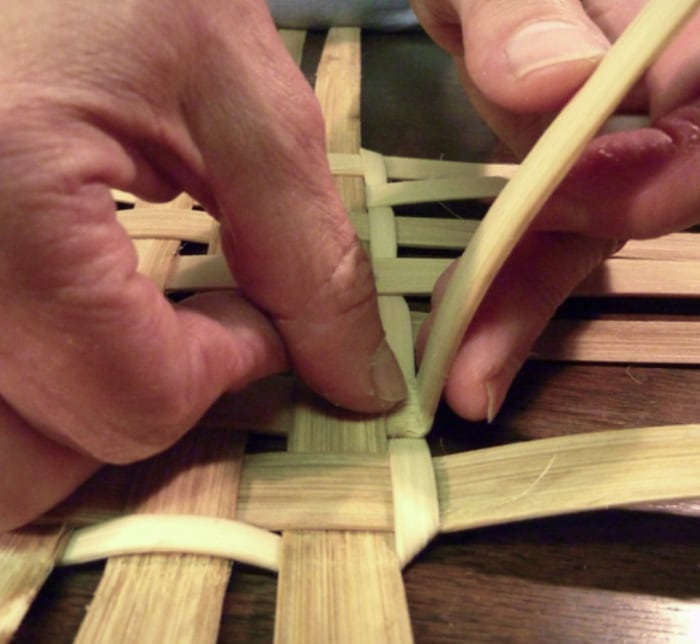
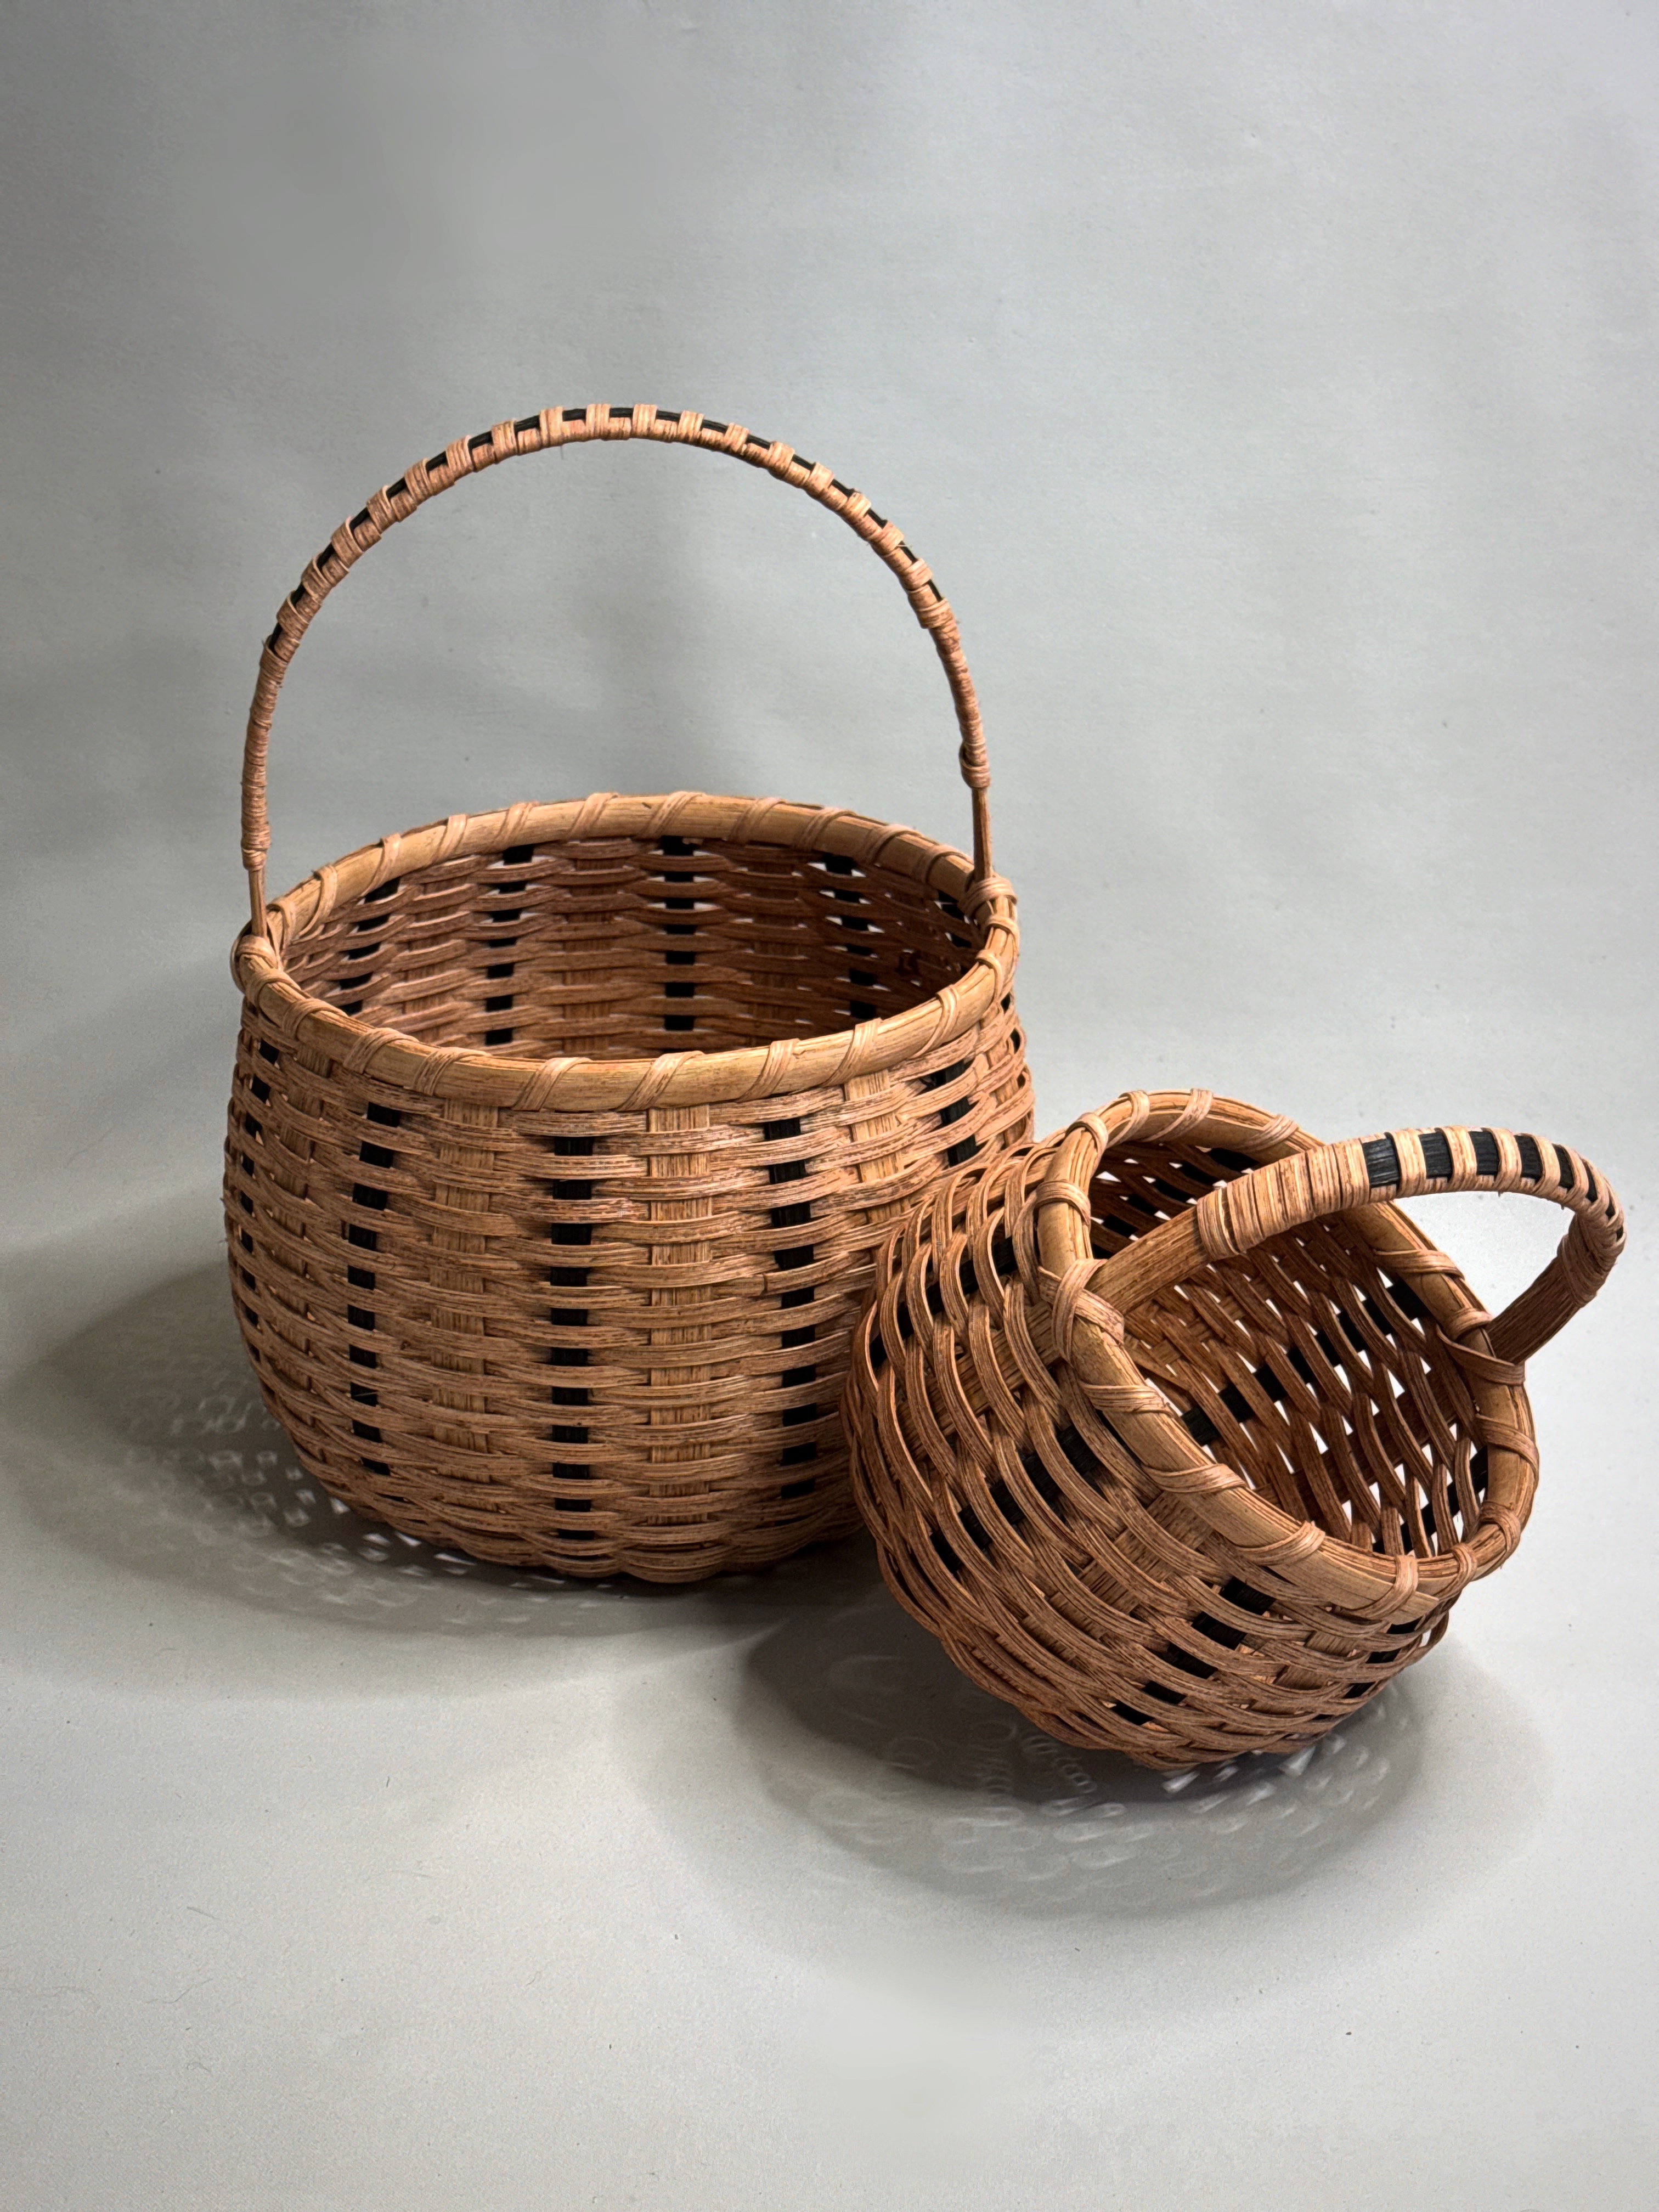
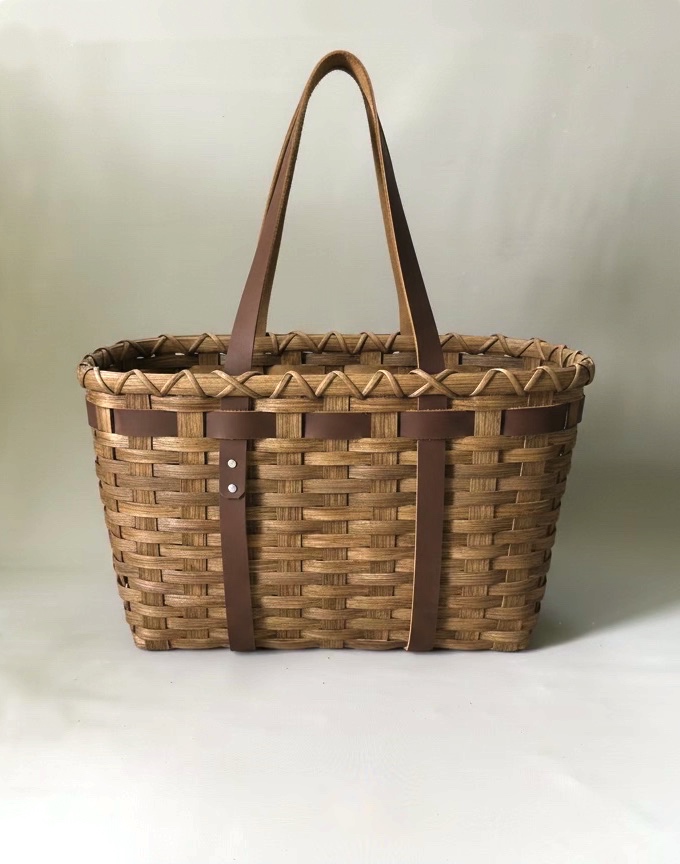
An unfilled base consists of two different sets of stakes: the horizontal stakes and the vertical stakes. Laying out the base is the term we use to describe the process of weaving those two sets of stakes together. This tutorial can be used in making a basket either with or without a handle. The pictures do not use a handle, but if your project does include one, then simply replace the center stake with your handle.
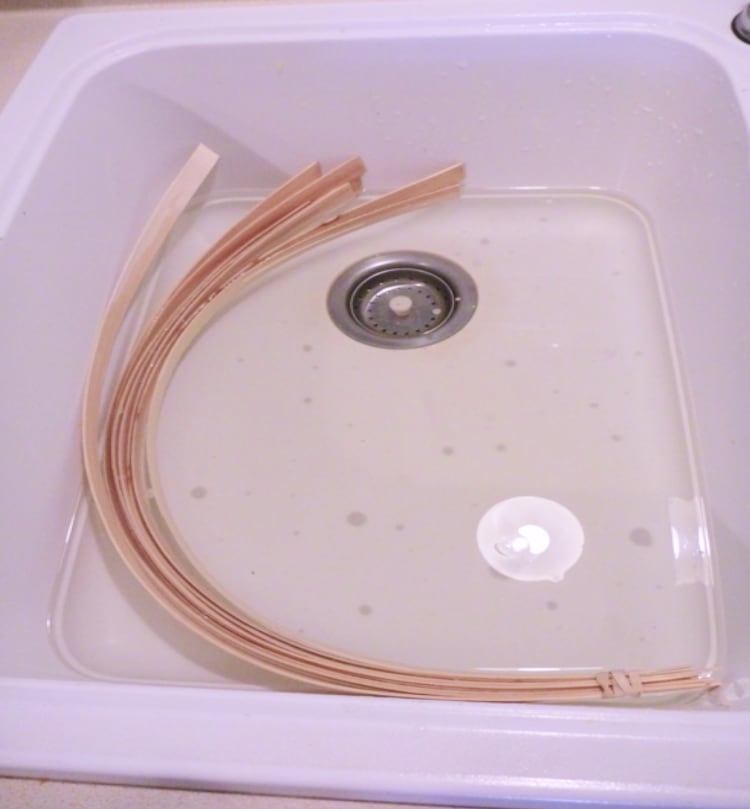
Step 1: Begin by soaking the horizontal and vertical stakes for several minutes in warm water, (include the locking row if the pattern calls for one).
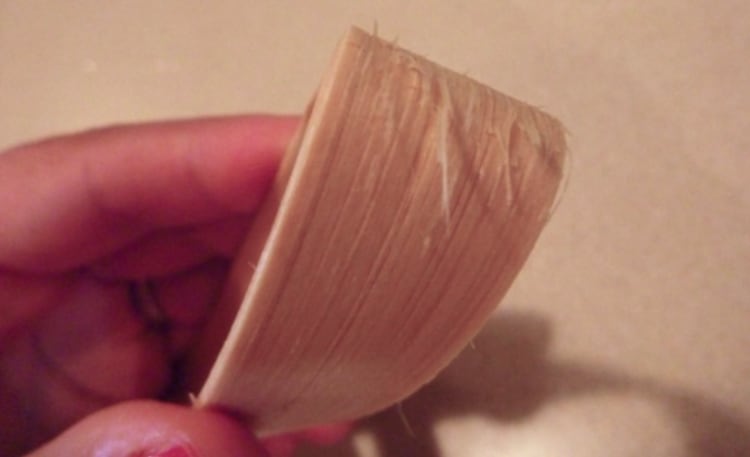
Step 2: Find the rough side of your stakes. Sometimes this is really easy. If you bend the stake over your index Ringer and Rind that one side has little splinters popping up, that’s the rough side. Place the rough side up/smooth side down on the table. Other times the reed may feel smooth on both sides, and you can’t find the rough side. If that’s the case it’s not going to matter!
Step 3: Mark the center of the middle horizontal stake with a pencil. Match up the ends to find the center but don’t crease the middle too strongly.
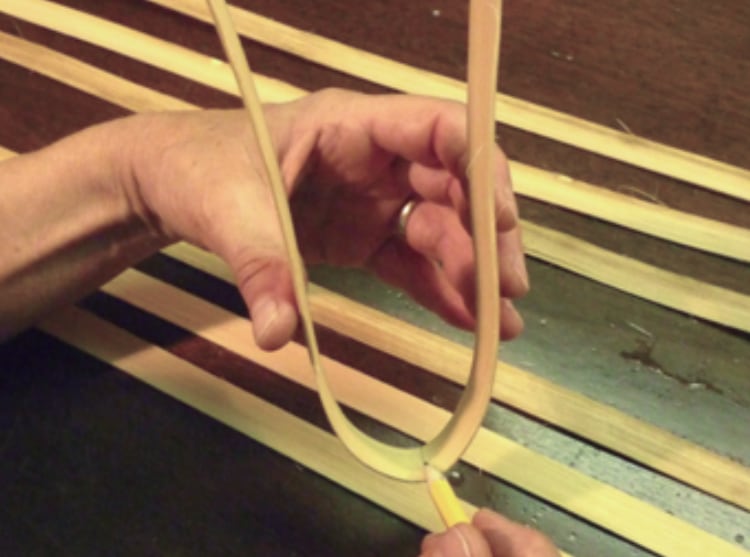
Step 4: Measure the horizontal length with this neat trick. If use of a locking row is included on your pattern, then divide the overall required length in half. On this basket, the horizontal measurement is intended to be 7”, so I lined up the center mark at 3.5”. I then mark a quarter inch less on each side of the total measurement. This compensates for the ¼“ locking row that will add a total of ½“ to the horizontal measurement.
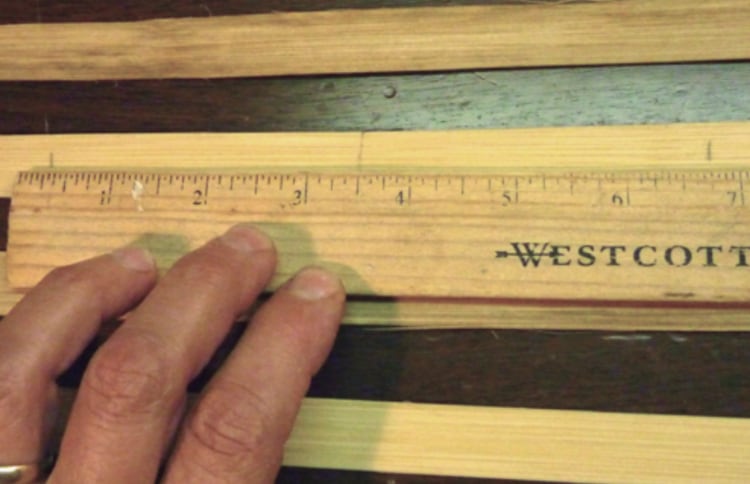
Step 5: Copy that measurement onto two more of the straightest horizontal stakes to act as your outside stakes. This will help keep the correct size on the whole base after all the vertical stakes are added. Lay out the horizontal stakes rough sides up with an even amount of space in between the stakes.
Step 6: Time to add the vertical stakes! Find and mark the center of either the handle (if the basket has one) or a straight vertical stake – remembering to keep the rough side up. Check the pattern to see if you need to begin by lifting the even or odd horizontal stakes. In this pattern, I am instructed to lift the evens, #’s 2, 4 & 6. Using your left forearm to hold all of the horizontals in place, lift the even (or odd, based on your pattern) stakes, and slide the handle or center stake under the lifted stakes and over the odd stakes.
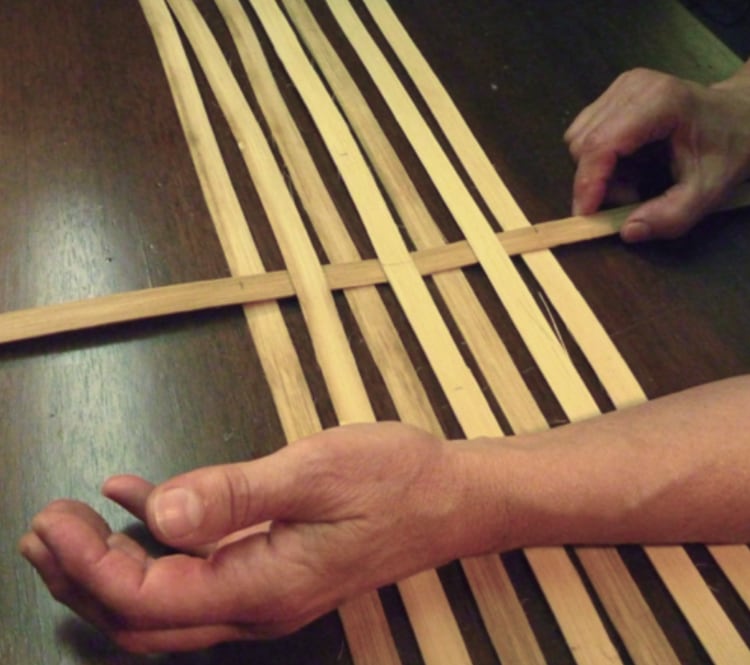
Line it up with your center marks on the horizontal stakes, and double check to make sure they haven’t moved around too much.
Step 7: Keeping your left arm in the same place, Rind the rough side of your next vertical stake. Slide the vertical stake under the odd stakes and bring it toward the center until it’s about a fingertip apart from the center stake. You’ll need to adjust all of your vertical stakes at the end to make sure there is an equal amount of space between each of the vertical stakes.
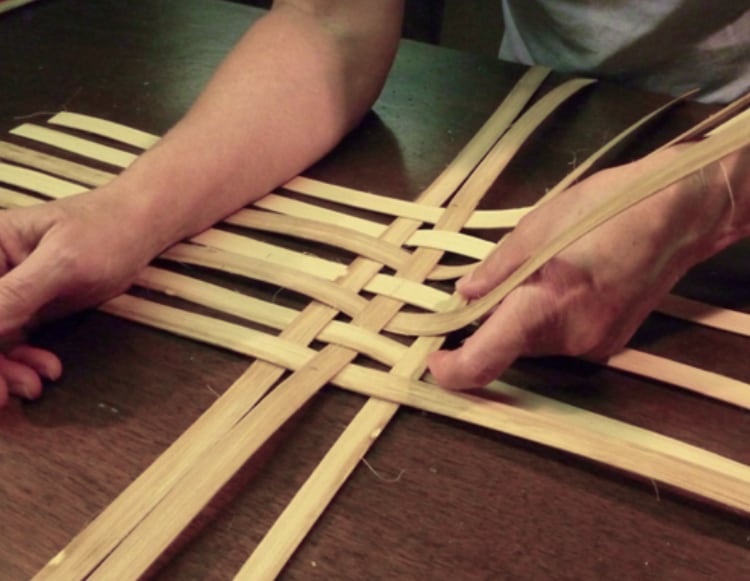
Check your pattern to see how many stakes to weave in on the left and on the right of the center stake. Once you have them all woven in, tighten or loosen up the base to line up with the end markings measured on the horizontal stakes.
Also make sure the verticals are even in length with each other. You can mark the center of each vertical stake, or you can simply eyeball them to make sure they are even.
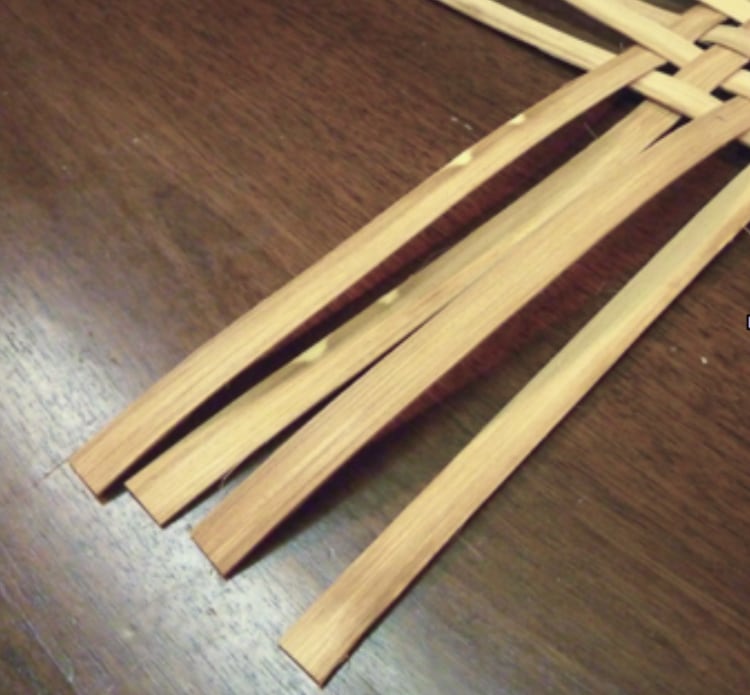
Step 8: Use a ruler to measure that the corners of the base are at the correct lengths. This is called “squaring up the base”.
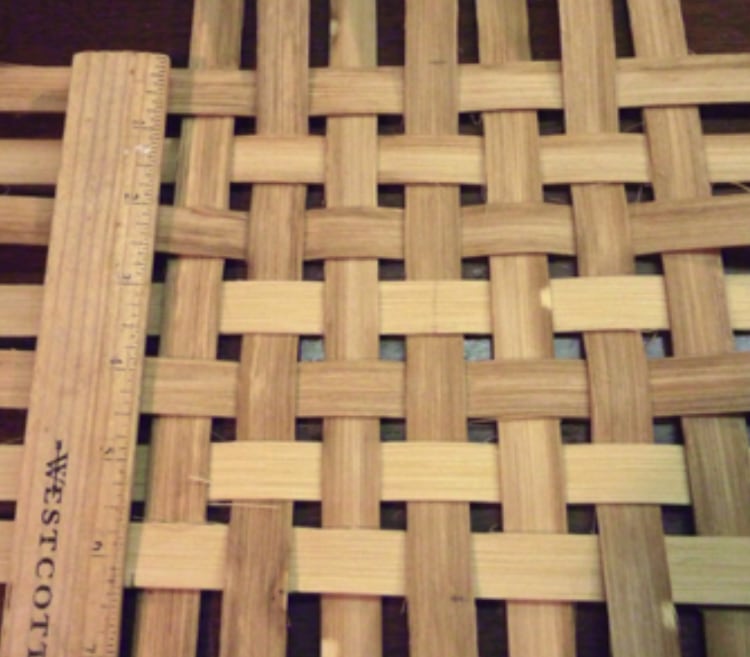
Locking Row#
After you’ve laid out the base, you’re ready to add the locking row. The purpose of this single 1/4” flat reed row is to hold the shape of the base to the proper measurements that you’ve worked so hard to achieve. This row does not stand up with the sides.
Step 1: Begin by Rinding a vertical stake in the lower left hand of the basket that 1) is over the horizontal stake at the bottom, and 2) has at least 3 stakes (including the handle if there is one - aways treat that as a stake) to the right of it. Place the end of the ¼” reed on top of that stake. It should be opposite of the horizontal stake.
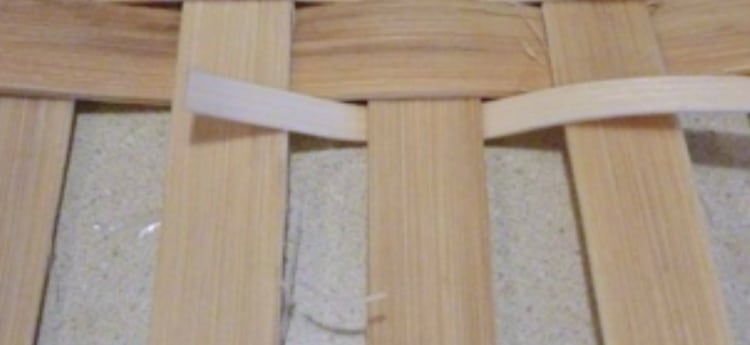
Step 2: Over and under weave from left toward the right with the ¼” Rlat reed until you reach the first corner. Fold a miter corner by creasing the ¼” on top in a 90 degree angle.
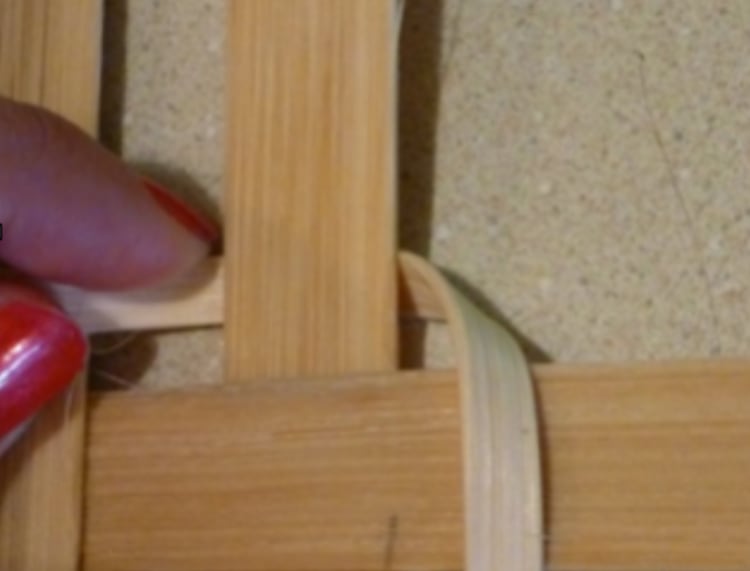
Step 3: Over and under weave all the way around the base, repeating the miter on each corner. On two of the corners, you’ll fold the miter under at a 90 degree angle instead of over.
Step 4: Upon returning to the place where the locking row started, overlap the ¼” flat reed by four stakes. Cover the starter. Proceed under the next vertical stake.
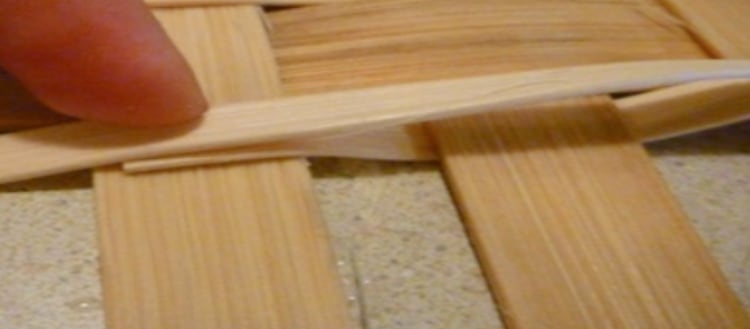
Go over the third vertical stake, clip the 1/4” flat reed and tuck the tail under the fourth vertical stake.
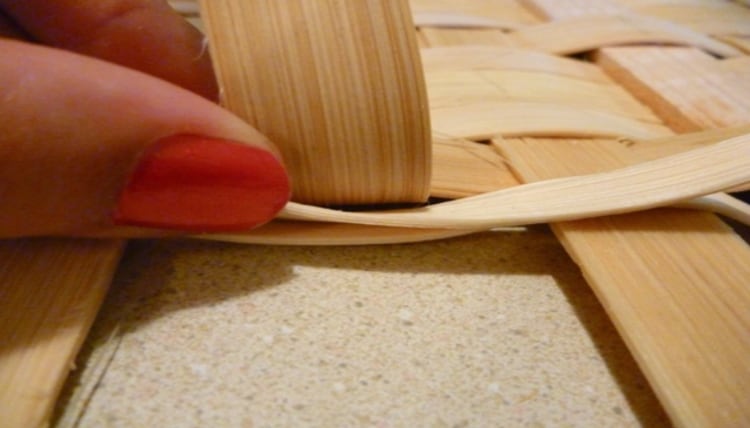
Step 5: Now you cannot see where the locking row began or where it ended.
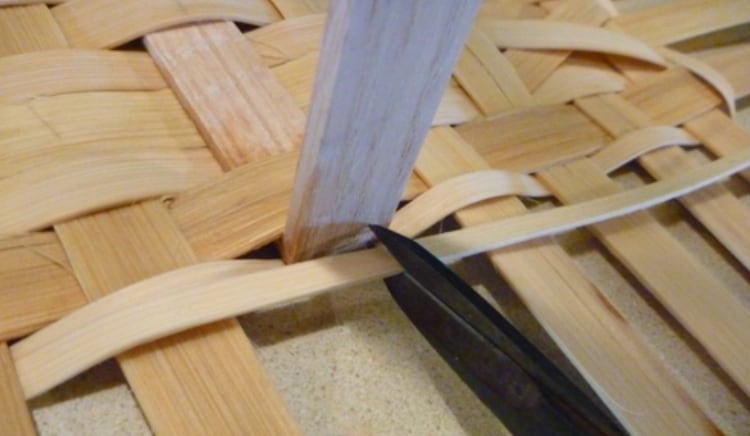
Another tip: Always start the locking row somewhere left of the center on the long side of the basket because you do not want to end the 4-stake overlap around a mitered corner.
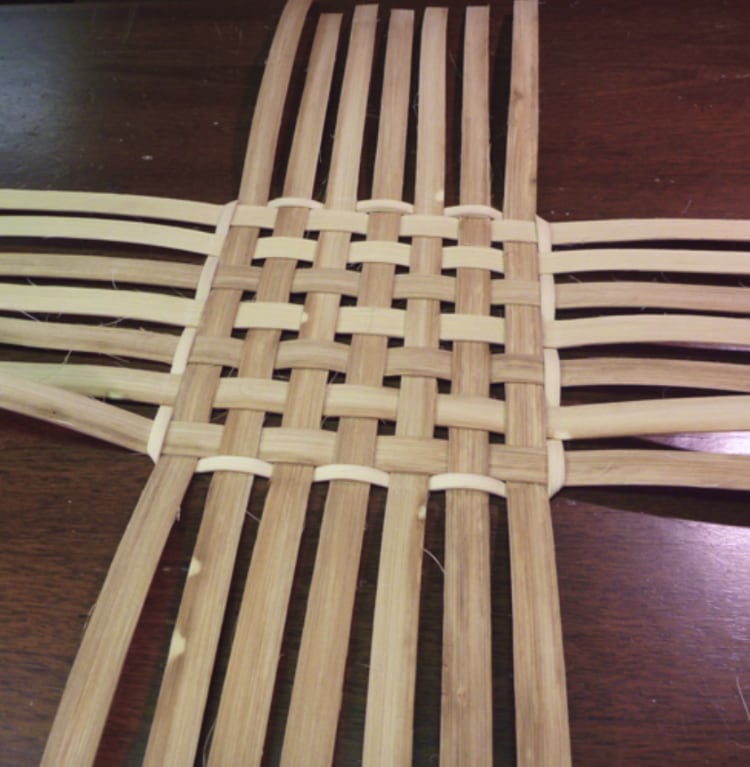
Upsetting the Stakes#
Upsetting the stakes is the step that transitions your weaving from the flat base to the sides of the basket standing up.
Helpful hint: When upsetting the stakes, many new weavers worry that they are going to snap or break the reed. Rattan basket reed is very durable because of the many fibers that make up the piece of reed. Some of the fibers may crack slightly, especially if a piece is accidentally rough side down rather than up, but it’s quite unlikely that the entire piece will break.
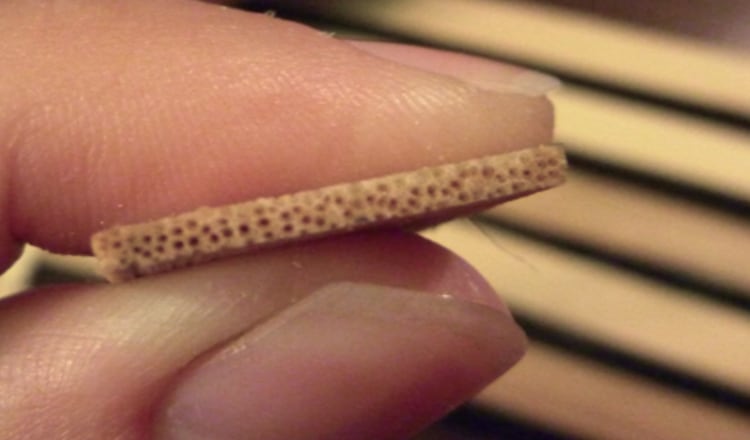
Step 1: To upsett the vertical and horizontal stakes, place your index Ringer right at the edge of the locking row to act as the brake.
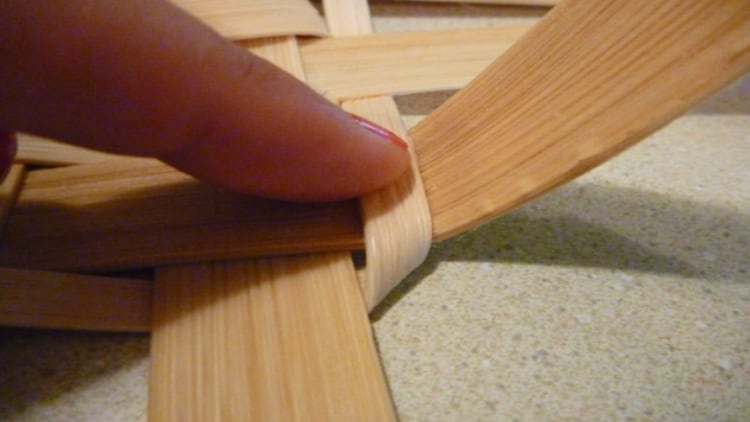
Step 2: Use your other hand to fold the stake at a strong 90-degree angle. The reed will crackle or snap a bit as you make the crease, but it must be folded crisply to achieve a straight and not rounded base. Repeat this on every stake. When upsetting a stake above the locking row, be sure to place a finger after the locking row, not right next to the vertical stake. All of the folds need to be in the same place or the first row of weaving won’t be straight.